

Golden Ghee Recipe
Growing up I remember my grandma using ghee. This was mostly due to the fact that she didn’t have refrigeration (an avid anthropologist she enjoyed living a no-grid primitive lifestyle until some of her last years). And although we never discussed it, I imagine she also knew of its many medicinal properties, of which I didn’t know until my late 20’s.
Ghee has been revered and used in India for thousands of years for cooking and for healing.
The animal fat which is separated from the milk solids of butter, ghee is extremely stable at high temperatures, making it ideal for all kinds of cooking styles. Also complimenting soups and curries with a dollop on top giving it a creamy rich texture while adding a dose of healthy fats. Further it has become popularised in “bulletproof coffee” which sees it added to black coffee with MCT oil, helping to stabilise the caffeine release and blood sugar levels for prolonged energy and focus.
And while it's known that including fats into your diet helps promote healthy skin, hair, hormone and brain function, some even claim to even use it topically for skin care!
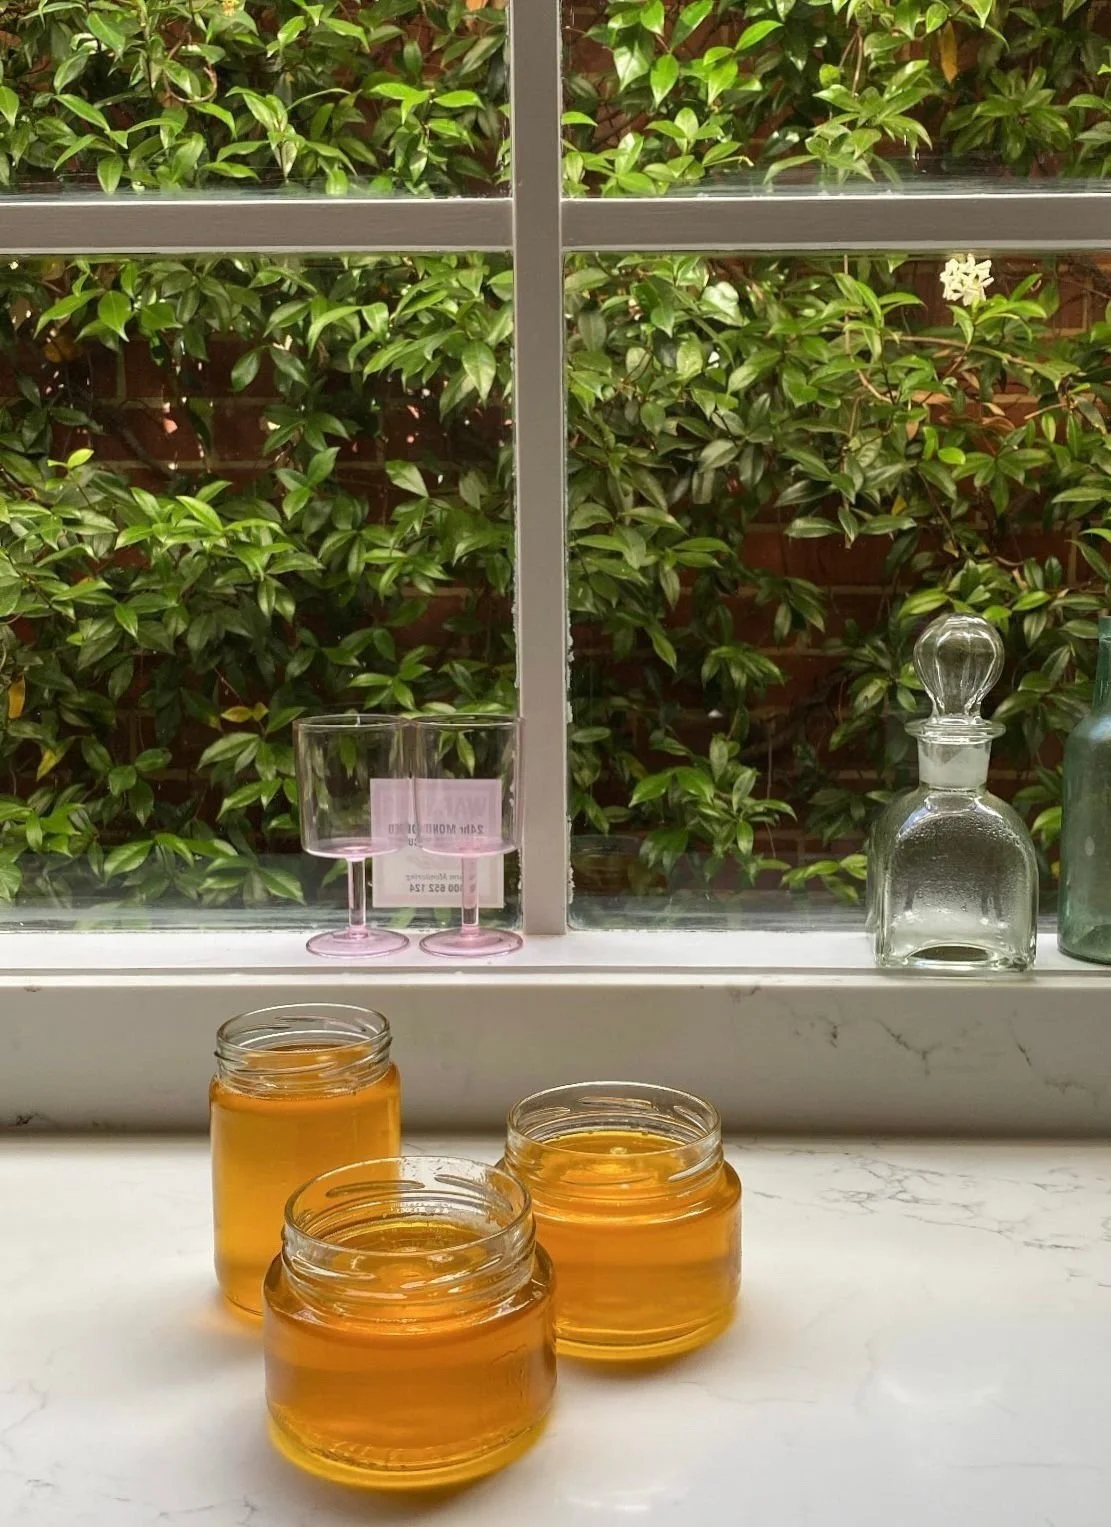
You can pick up low budget variations from the supermarket these days, or even higher quality ones from wholefoods stores, but those who’ve tried homemade know and taste the difference!
Offering a caramelised buttery flavour to everything (without the lactose--the process of ghee making removes the milk solids and therefore becomes lactose free!) you’ll want to start adding it to everything.
So when I spotted my friend Bella Berrell cooking up big beautiful batches on IG for her clients I headed over to her place to get some of her pro tips, and of course share them with you!
pic @bella.berrell
Ingredients:
2 sticks of unsalted organic grass-fed butter
Utensils
Heavy bottom pot (ideally ceramic, cast iron or stainless steel)
Wooden spoon
Jar
Nut milk bag or muslin cloth
Method

1.Heat up a thick bottom pot over a medium heat and place your sticks of butter in without a lid.
Note: if you don't have a heavy bottom pan you’ll just need to keep an extra close eye on it so it doesn't burn.
2. Watch closely as the butter starts to melt and begins foaming. Wait until you see the milk solids start to rise to the top.
3. Allow it to come to the boil. Once you start to see the milk solids sticking to the edges of the pot use a wooden spoon to scrape them off to avoid them burning.
4. Almost ready! At this stage you’ll see a second foaming start to occur. Using your spoon make a clearing in the foam and you will see the solids now sitting on the bottom of the pot.
5. Turn it off and let it cool slightly. Put on your favourite song and do a little kitchen dance.
6. Once it's cooled slightly enough to handle it, use a nut milk bag or muslin cloth to strain. Note: it's important to strain it still while fairly hot so that it doesn't get a grainy texture.
8. Once you’ve strained the liquid into your jar, place it in the freezer immediately.
Once it has cooled and turned solid it actually doesn't need refrigeration at all but this step helps it set evenly and further giving it a smooth texture.
See the full reel on IG/ @the.ethical.omnivore_
Bella Berrell is a Melbourne based home and free birth doula. Supporting women and mothers throughout pregnancy/birthing and postpartum.